Autonomous Navigation
move_base is a node from the navigation package that implements the necessary parts to drive a mobile platform from a starting position to a goal position.
The basic structure is shown in the picture below:

In order to carry out the process of Navigation, the robot needs the environment that is the Map, which is created by the process of Mapping. Localize it’s position in the environment by employing a localization algorithm which uses the sensor data and initial estimate. Finally use all the infomation including the sensor readings to autonomously navigate the platform.
move_base node performs all these processes as shown in the picture.
The logical areas shown in the above picture are implemented as plugins and can be individually selected by modifying the “neo_mp[…]/configs/navigation/move_base/move_base.launch” file and all the configurations can be found under “neo_mp[…]/configs/navigation/”.
Note
See http://wiki.ros.org/move_base for detailled information about all the logical areas.
Mapping
Preconditions
Before starting the mapping procedure make sure that the basic ROS nodes (as defined in bringup.launch) are running. By default this is the case.
If not, see Getting Started for more information.
Starting the mapping procedure
To start the mapping procedure you can use the “gmapping_basic” launch file in your terminal as follows:
roslaunch neo_mp(?)_(?)00 gmapping_basic.launch
Please choose the correct package name depending on your platform.
If the default mapping parameters are not sufficient you can edit them here: ~/ros_workspace/src/neo_mp[…]/configs/navigation/gmapping/gmapping_basic.yaml
Example parameters: https://github.com/neobotix/neo_mp_400/blob/master/configs/navigation/gmapping/gmapping_basic.yaml
Once you run the above launch in your terminal:
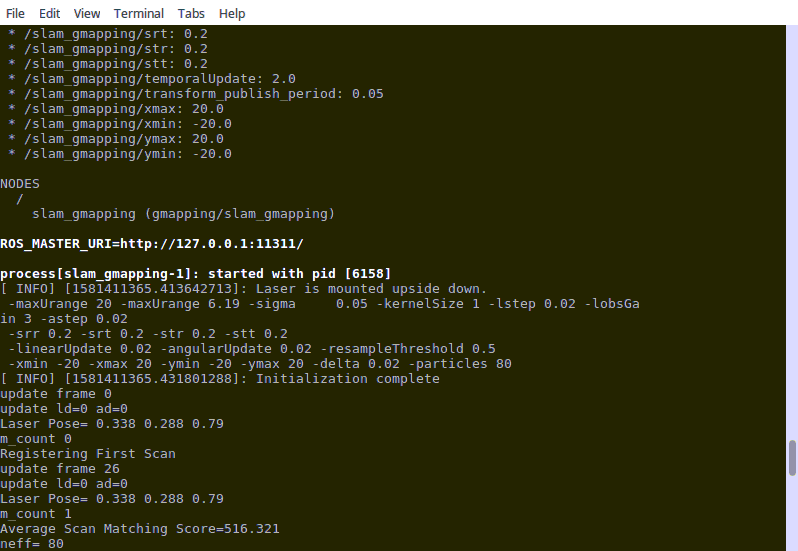
Note
See http://wiki.ros.org/gmapping for more information regarding gmapping.
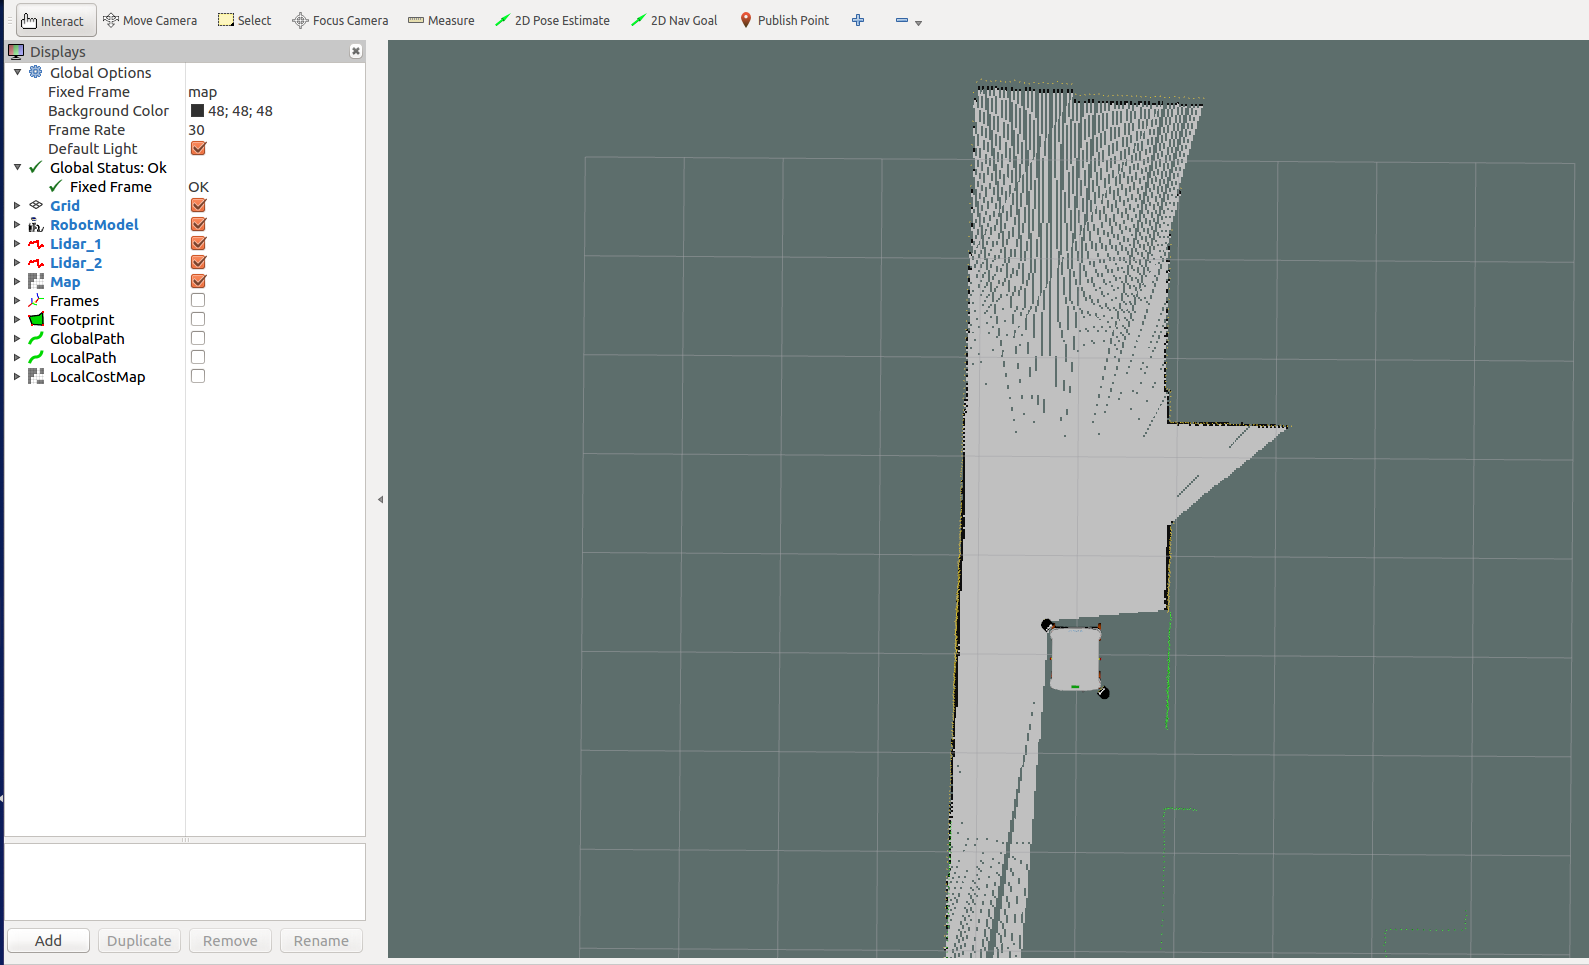
Visualizing the mapping process
You can visualize the mapping procedure in real-time using Rviz as follows:
roslaunch neo_mp(?)_(?)00 rviz_navigation.launch
Please choose the correct package name depending on your platform.
Mapping your environment
Once the mapping procedure has been started you can drive around your environment to create a map for it.
Try to avoid making fast movements or triggering the scanner stop.
Saving the map
Once you are finished mapping the environment you can save the map as follows:
rosrun map_server map_saver -f your_map_name
This will create two files, a “your_map_name.pgm” file and a “your_map_name.yaml” file. Both files are necessary and they should always be in the same directory.
Installing the map
In order to use the map for navigation later on it is necessary to copy it to the “maps” folder:
cp your_map_name.* ~/ros_workspace/src/neo_mp[...]/configs/navigation/maps/
If the “maps” folder does not exist you can just create it first.
Localization
Localization algorithm helps to determine where the robot is in the environment, that is the Map.
In order to do the localization, first we need to start move_base and the localization algorithm on the platform:
We offer two localization algorithms:
- AMCL
roslaunch neo_mp(?)_(?)00 navigation_basic_amcl.launch
- neo_localization
roslaunch neo_mp_400 navigation_basic_neo.launch
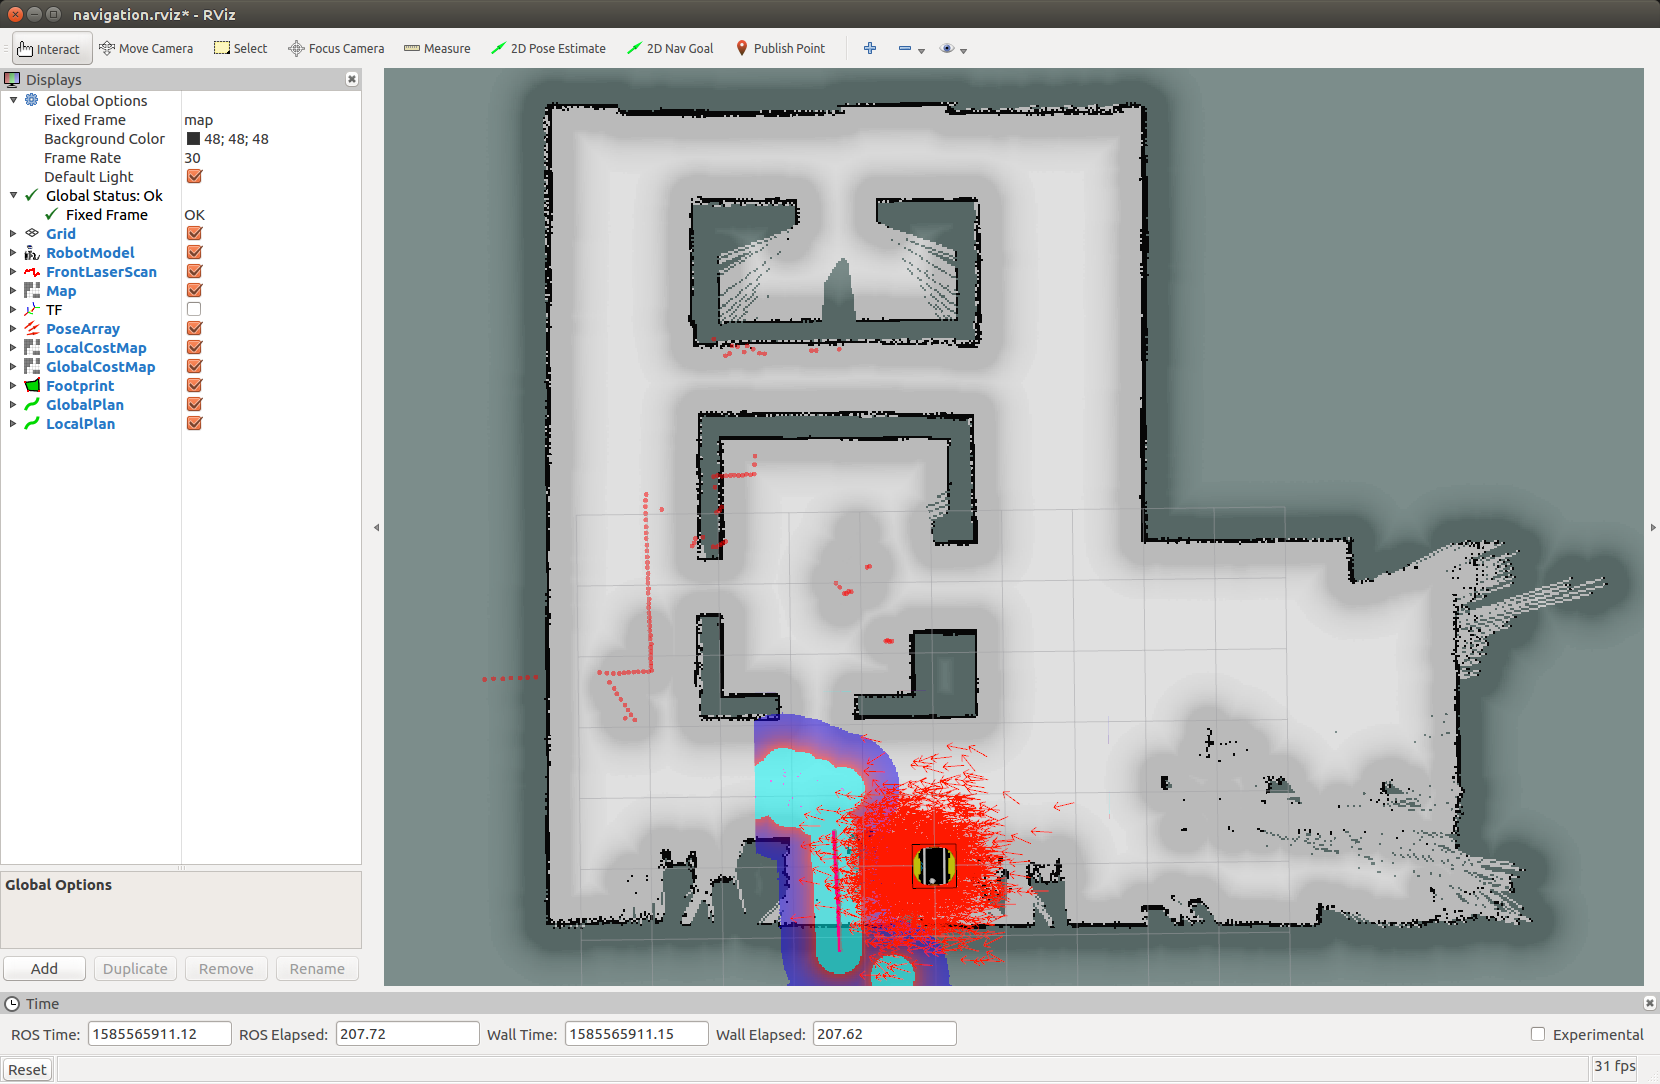
Visualization with RViz
To visualize the whole move_base process we supply predefined RViz configurations, which can be loaded as follows:
roslaunch neo_mp(?)_(?)00 rviz_navigation.launch
Initializing the localization
Before we can send goals to move_base we first have to initialize the localization, so the platform can find it’s starting position on the map.
There are multiple ways to do this, like for example publishing a pose on the /initialpose topic.
However the easiest way for testing is to use the RViz 2D Pose Estimate feature as shown below:

Warning
Make sure the “Fixed Frame” is set to “map”, otherwise it will not work.
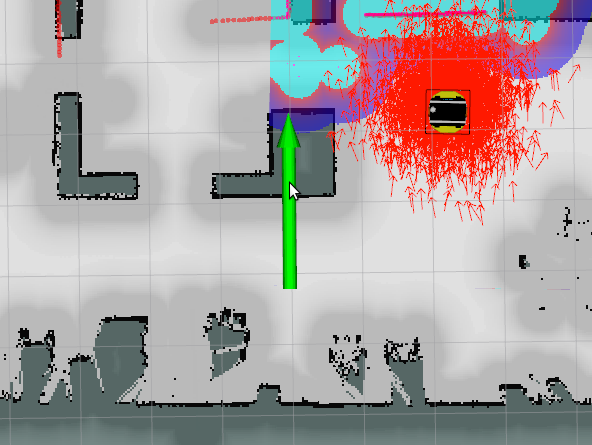
After doing this we can check how good our estimate is by comparing the laser points with the map. This process can be repeated any number of times.
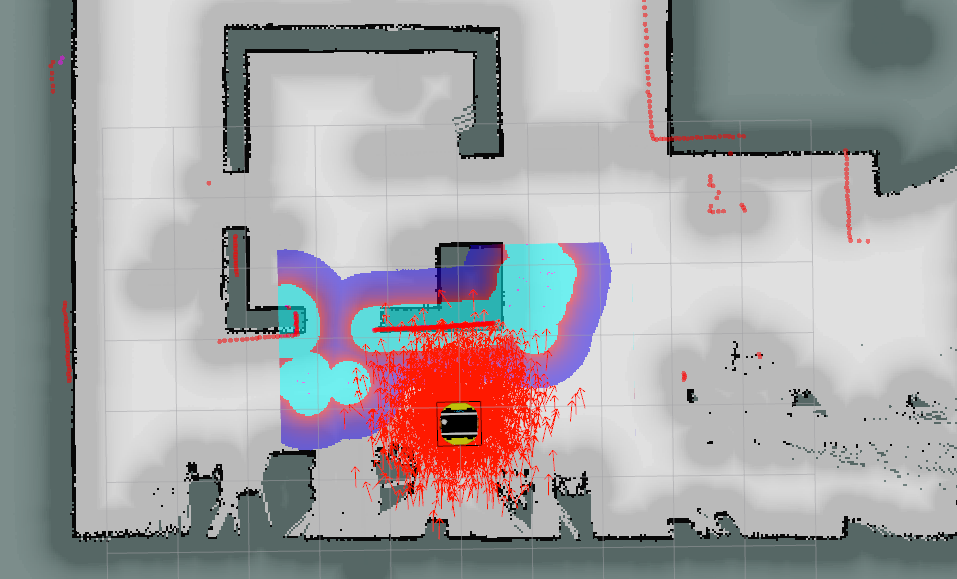
Note: The initial pose does not have to be perfect, it is sufficient to be within ~50 cm of the true position and within ~20 degrees of the true orientation.
Once the platform moves it will correct the initial localization estimate. It will not do so while standing still however.
Note
more information regarding the localization can be found here: http://wiki.ros.org/amcl
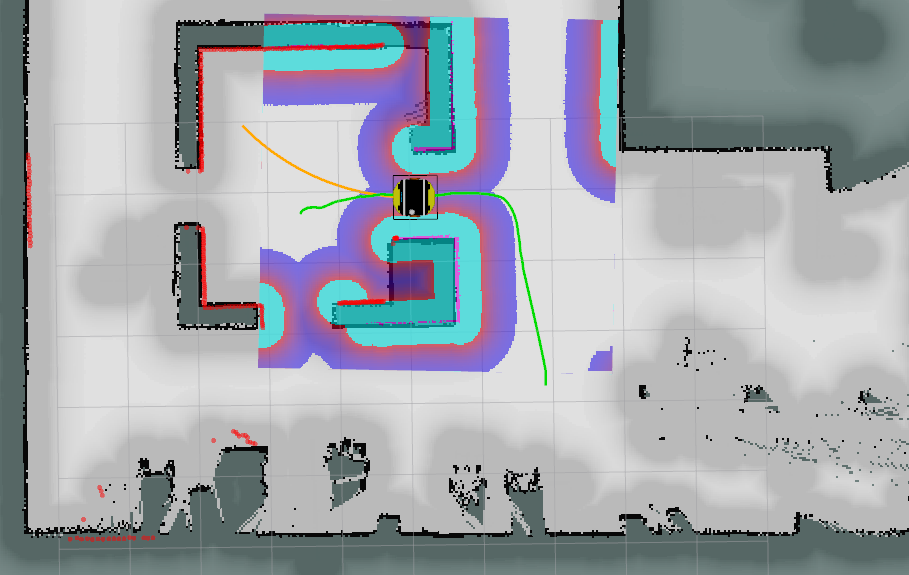
Navigation
Goal Positions are the locations inside the known environment, that move_base should navigate towards.
These goals can be sent to move base in different formats and by different methods.
Using ROS-Topic
The topic move_base_simple/goal is one of the options to send a goal to move_base.
The format of the message used is geometry_msgs/PoseStamped.
Using RViz
The easiest way to define a goal for move_base is to use the 2D Nav Goal option in RViz and just click and drag on the goal position and define the orientation.
This method is recommended for testing and monitoring.
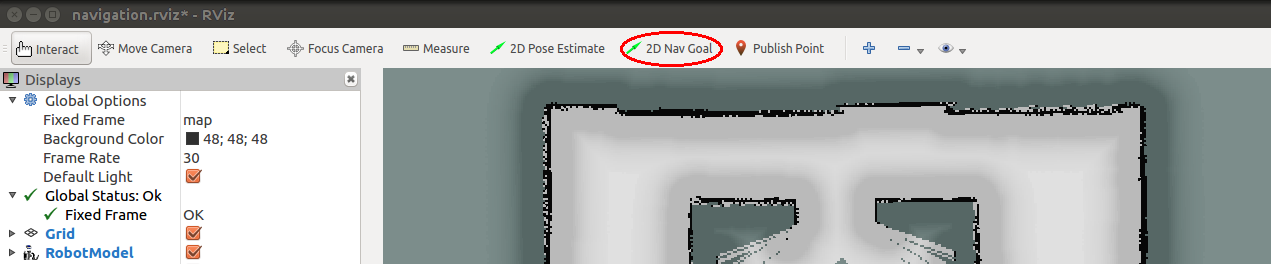
Warning
Make sure the “Fixed Frame” is set to “map”, otherwise it will not work.
Using the move_base Action Client
Step by step tutorial can be found here: http://wiki.ros.org/navigation/Tutorials/SendingSimpleGoals