Starting with ROS on the Simulation
Welcome to the ROS simulation package. The easiest way to test our robots is through the ROS simulation. We have the simulation packages for all the robots primed and ready for testing.
Sourcing, Configuration and Launch
Sourcing the Workspace
echo "source your_catkin_workspace/devel/setup.bash" >> ~/.bashrc
Sourcing the Gazebo Models
echo "export GAZEBO_MODEL_PATH=~/(Path to your workspace)/src/neo_simulation/models:$GAZEBO_MODEL_PATH" >> ~/.bashrc
Add locale path into .bashrc
echo "export LC_NUMERIC="en_US.UTF-8" " >> ~/.bashrc
Additional step to melodic
To avoid “Error [REST.cc:205] during startup gazebo” while starting ros-gazebo, do the following steps:
- Open a terminal, go to the following directory
cd ~/.ignition/fuel
- Using gedit (or any text editor of your prefernce) open the config.yaml file
- Change
url: https://api.ignitionfuel.org
To
url: https://api.ignitionrobotics.org
Configuration
Available Parameters
You can read about the details of the robot in our official website
| MY_ROBOT | mpo_700, mpo_500, mp_400, mp_500, mmo_700, mmo_500, mm_400 |
Note
At the moment for the mobile manipulators, we support Universal robots and Frank-Emika arm. On demand, we are open to add other arms. Please use the github feature or issue tracker to add your request
Please go down to see the available worlds.
| MAP_NAME | neo_track1.world neo_track2.world neo_workshop.world |
Open simulation.launch
roscd neo_simulation
gedit simulation.launch
Change Parameter to your needs
<!--Set robot type-->
<arg name="robot_type" default="mpo_700"/>
<!--Set world name-->
<arg name="robot_world" default="neo_workshop.world"/>
<!--To launch RVIZ set the value to true-->
<arg name="rviz" default="true"/>
<!--To launch move base set the value to true-->
<arg name="autonomous_navigation" default="false"/>
If you change the world, then you also have to change your exported MAP_NAME like as follows:
export MAP_NAME=neo_track1
If you wish to change the default robot arm for the mobile manipulator or the laser scanners, follow the steps shown under customizing robot model.
Once the robot model has been customized, the controller for the arm needs to be added into the launch. For example, you want to simulate mmo-700 with franka-emika panda arm, but as a default UR10 arm loads. Now in order to replace it, navigate to your_workspace/src/neo_simulation/launch/mmo_700 and open mmo_700_simulation_basic.launch. Now, replace the line that loads the UR10 controller:
<rosparam file="$(find neo_simulation)/config/controller/arm_controller_ur10.yaml" command="load"/>
with the frank panda arm controller:
<rosparam file="$(find neo_simulation)/config/controller/arm_controller_franka.yaml" command="load"/>
Launch
Launching the simulation is fairly easy.
Just use the simulation.launch file that we configured in the chapter above.
roslaunch neo_simulation simulation.launch
After the launch is completed, the simulation is ready to use.
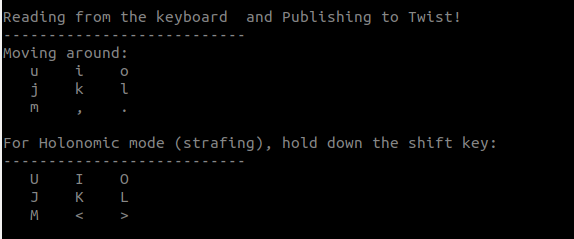
Robot can be moved using the keyboard as shown in the Image below:
Video Demo
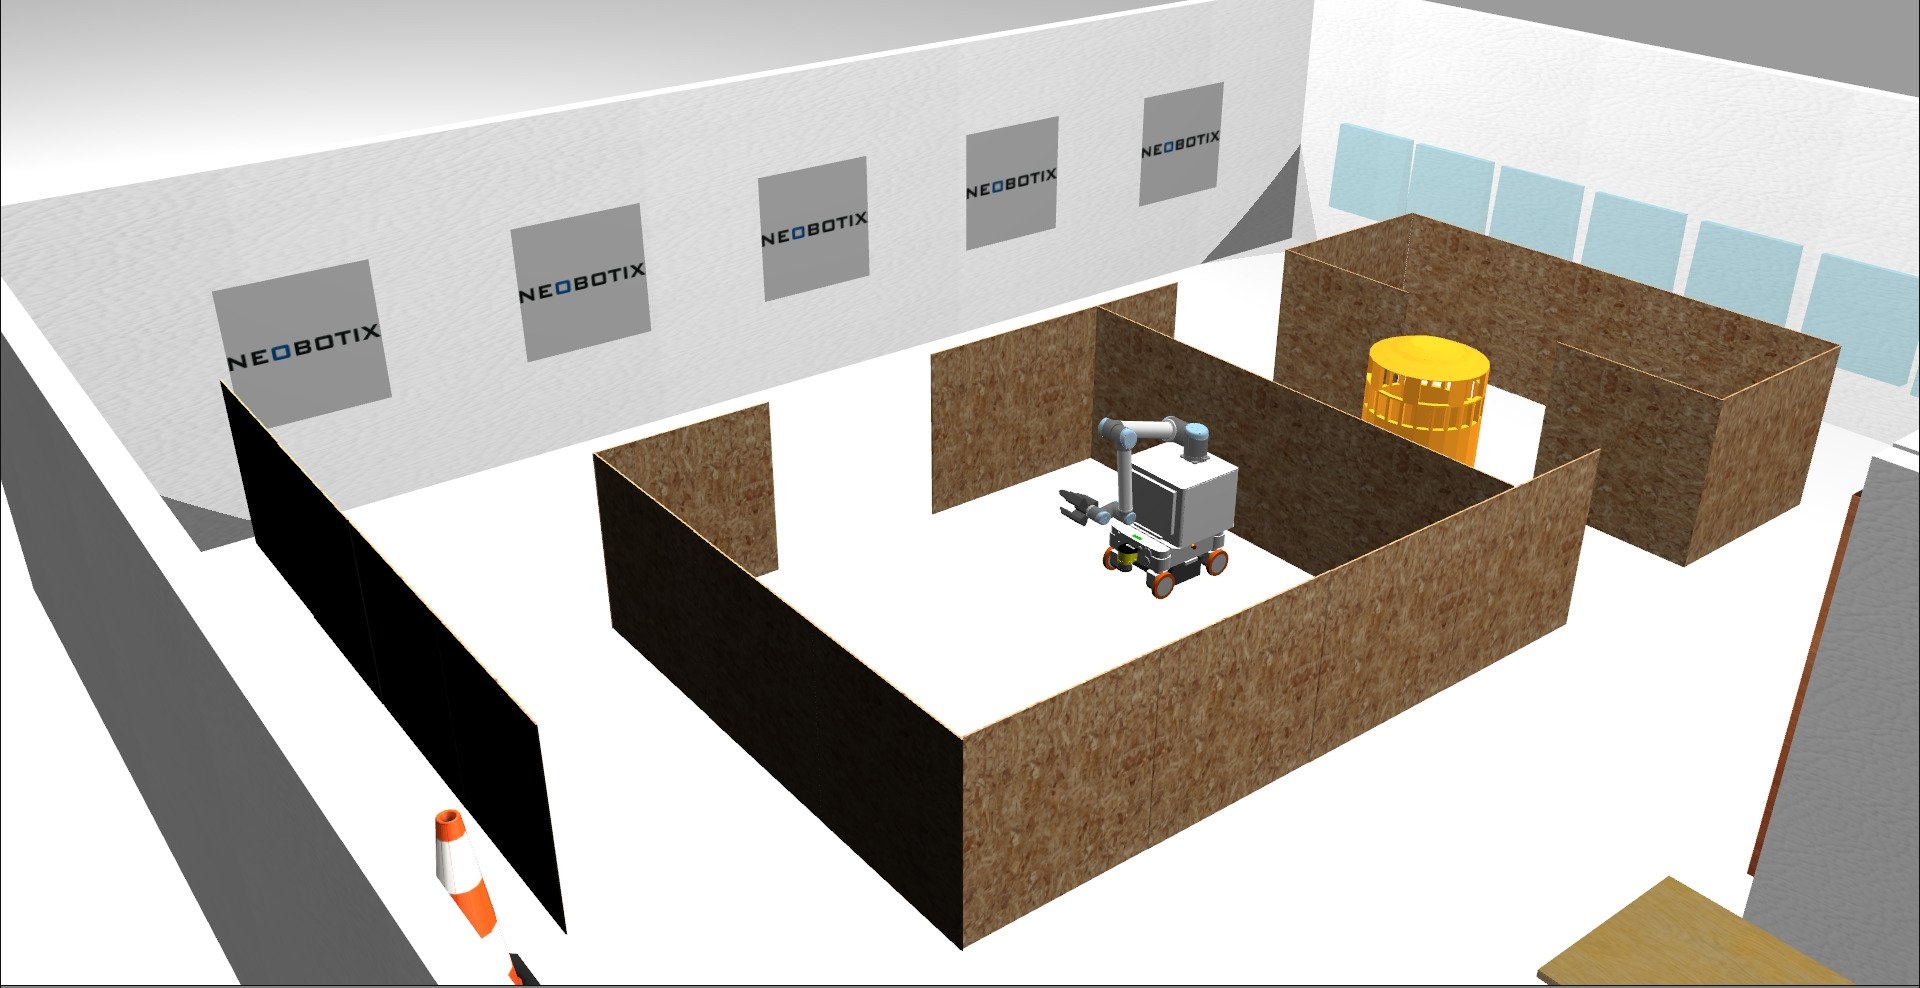
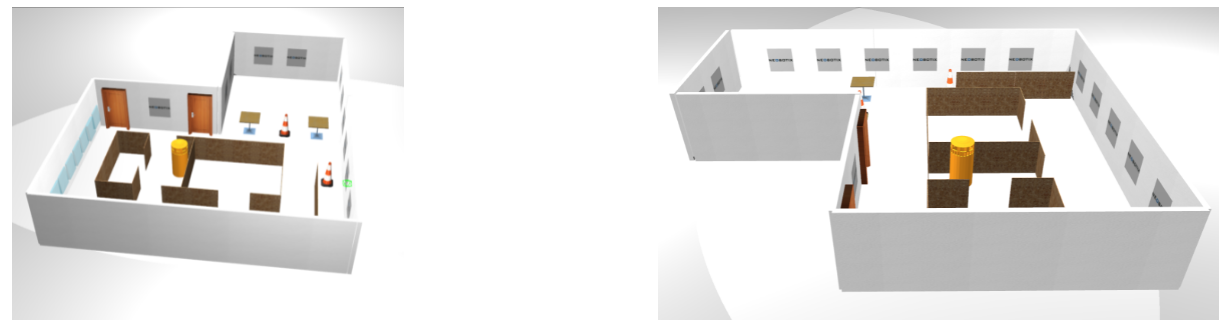
Worlds
neo_track1
A simple world used to test simple maneuvers. Also this world, allows you to start building and testing your application by spawning the various readily available simulated industrial machineries from gazebo models.

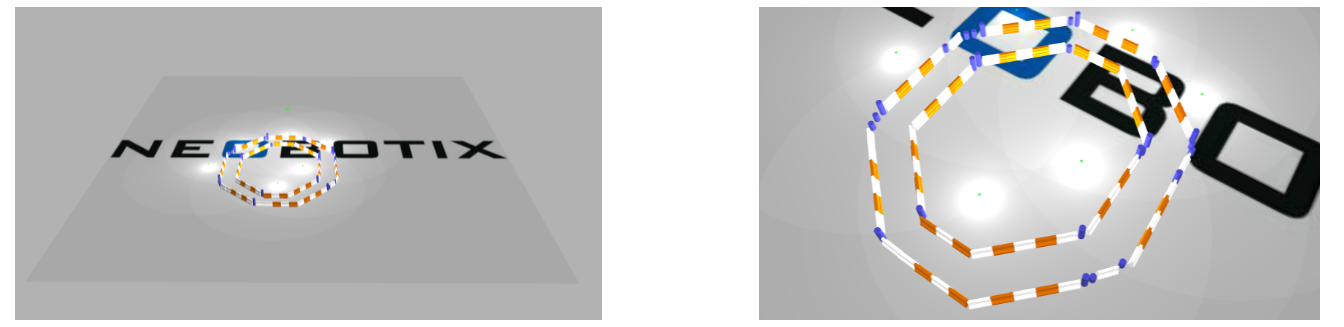
Spawn Moving Obstacles
In order to test our robot in the simulation environment, you can use the tailor-made dynamic obstacle scripts for the purpose of testing.
Below you can find the link to our dynamic obstacle scripts. You can modify the script and use it to your needs accordingly for the purpose of testing.
To know the available obstacle scripts, navigate to neo_simulation -> scripts
Depending on the world that you use, you can spawn the obstacles. For example, to spawn obstacles on neo_track1, you need to do the following:
rosrun neo_simulation spawn_obstacles_track1.py
Video Demo
Control robot arm with Moveit
Installation
For Noetic:
sudo apt-get install ros-noetic-moveit
For Melodic:
sudo apt-get install ros-melodic-moveit
Running moveit in the simulation
- In the simulation.launch change the robot to one of the mobile manipulators as seen in the earlier tutorials
- Launch the basic simulation
roslaunch neo_simulation simulation.launch
- We have move group packages for 3 of our mobile manipulators: MM_400, MMO_500 and MMO_700.
cd your_workspace/src
git clone your-robot-moveit-package
cd ..
catkin_make
- Launch the custom made move group package of the robot which you want to use
roslaunch your-robot-moveit-package move_group.launch
- In rviz Add -> MotionPlanning plugin
- In rviz, see to that OMPL appears in green color as shown in the image below. If not, there is a problem with the setup.
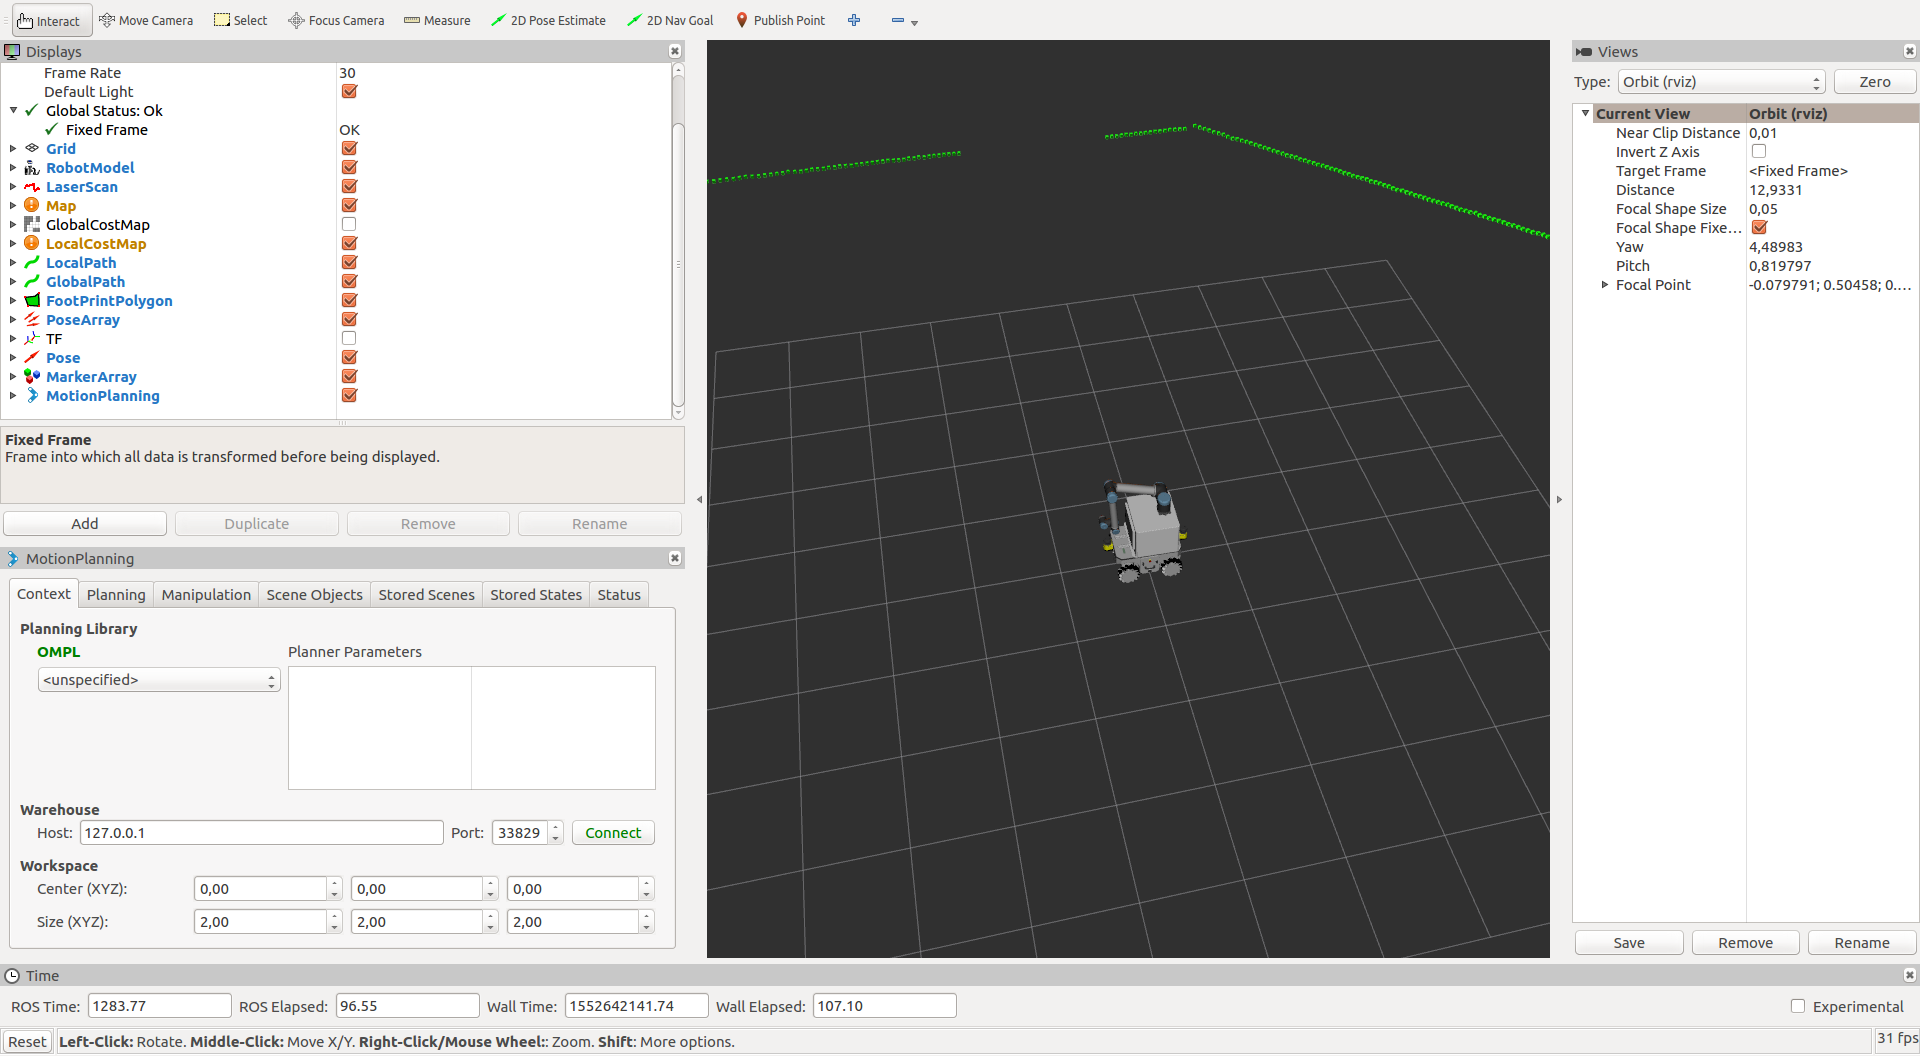
- In the motion planning GUI of the rviz, navigate to the planning tab.
- Below we can see the image of the motion planning GUI.
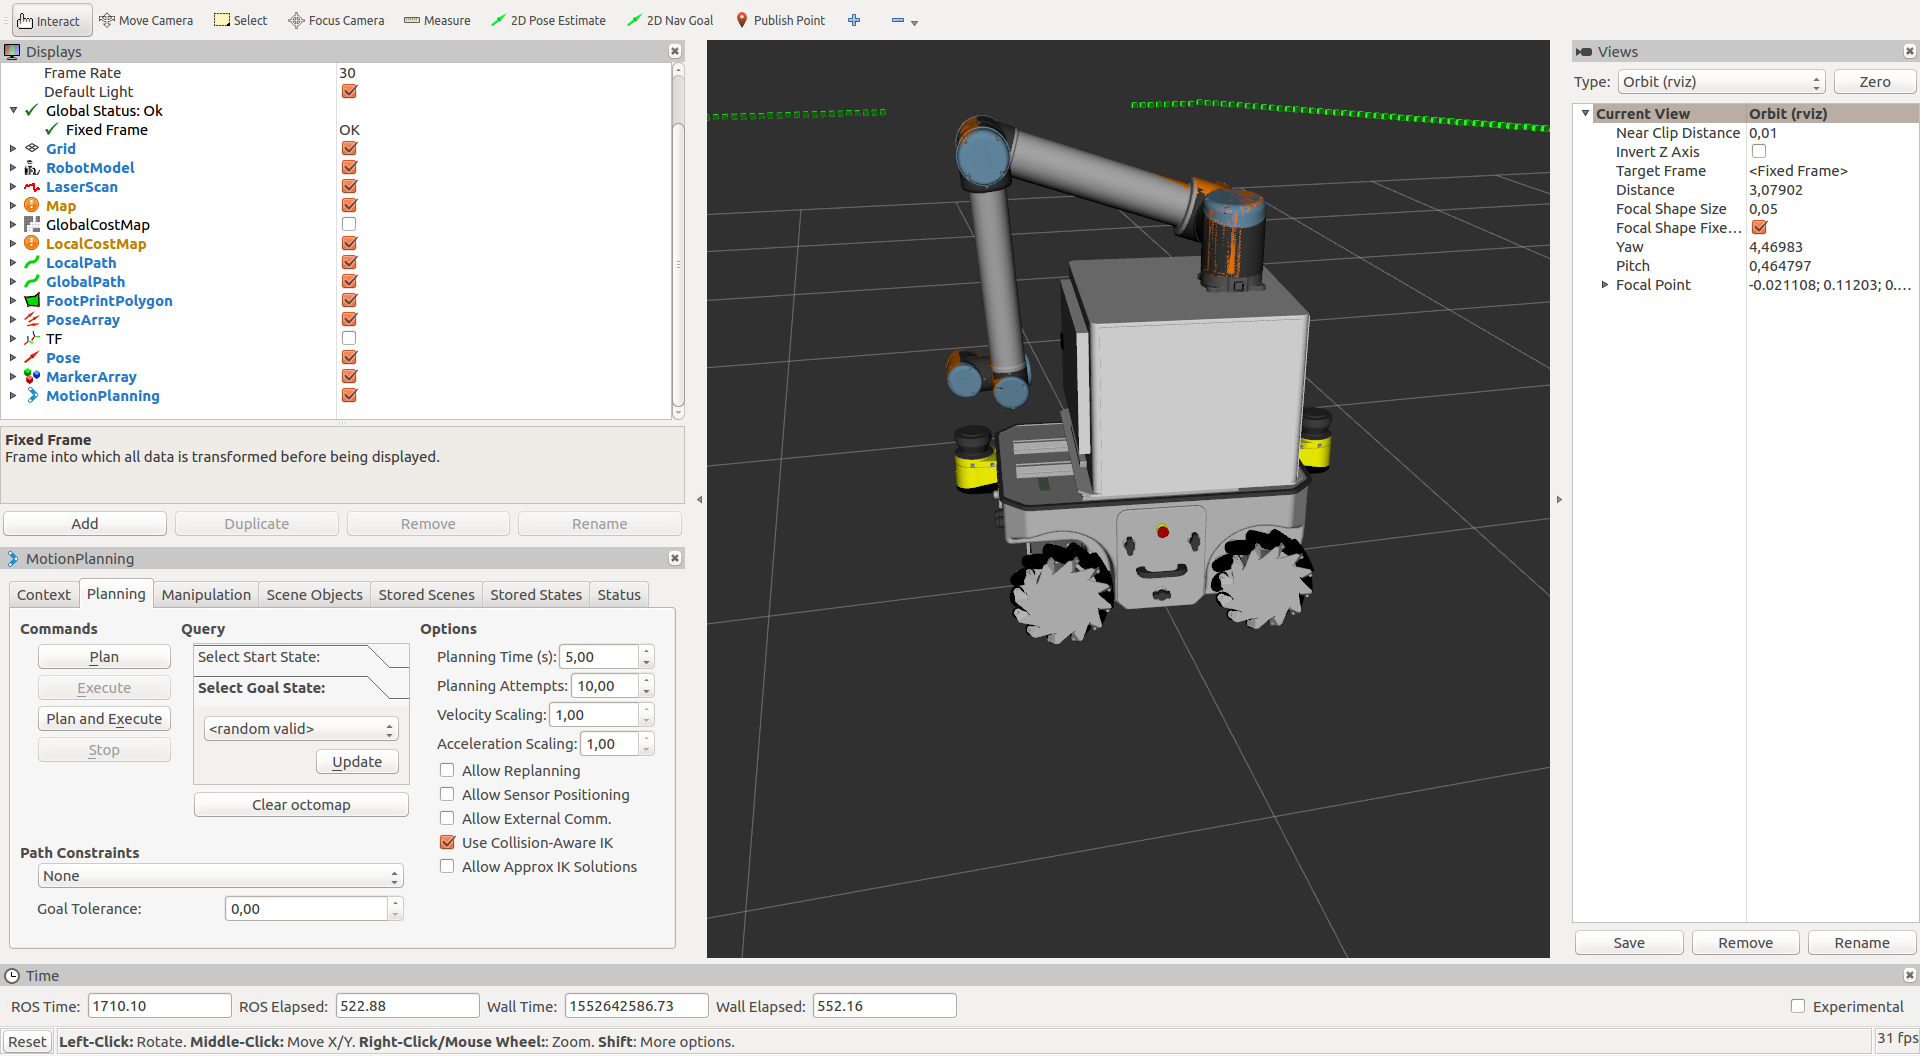
- In the planning tab, under query -> Select Goal State, select <random valid> and update the goal by pressing the update. Now you can see the position to which the robot will be moving as shown below.
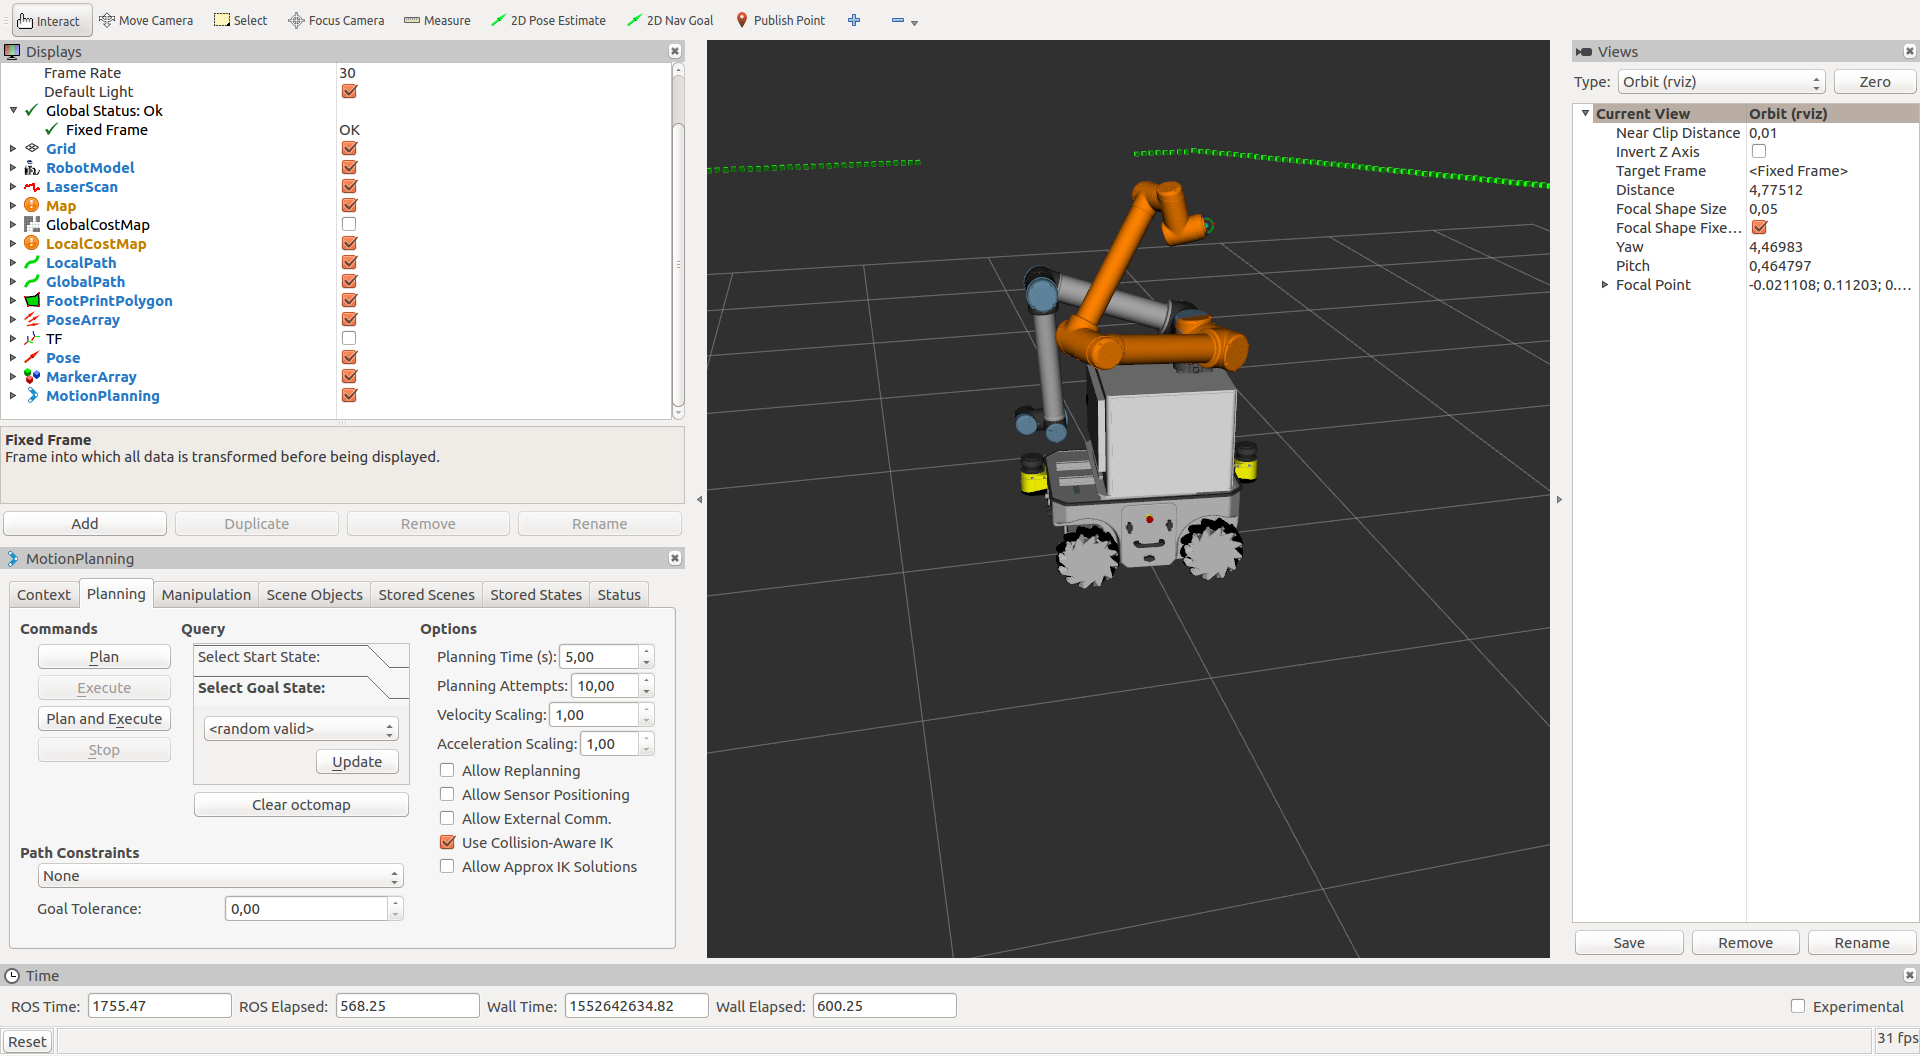
- Then press Plan and Execute to see the robot move to the updated goal position.
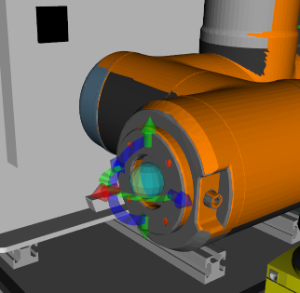
- You can also move to the robot to the desired position by dragging the interactive marker as shown in the image below