Starting with ROS on the Robot
Connecting your PC to the ROS-Master on the Platform
In order to connect to the ROS-Master on the platform (from another PC) you need to set the following environment variables on your PC:
| Parameter | Value | Example |
|---|---|---|
ROS_MASTER_URI |
IP-Address and Port for the ROS Master | export ROS_MASTER_URI=http://192.168.0.50:11311/ |
ROS_IP |
IP-Address of your PC | export ROS_IP=192.168.0.100 |
ROS_HOSTNAME |
IP-Address of your PC | export ROS_HOSTNAME=192.168.0.100 |
You can add these to your ~/.bashrc or set them manually for each terminal you open.
Testing your connection to ROS-Master
In general, when you turn on the robot, there is an autostart script for ROS, that would bringup all the necessary drivers and packages for the hardware components as part of the robot. If in case you have installed ROS manually, then you need to do a manual bringup as follows:
roslaunch neo_mpo_700 bringup.launch
After completing the ROS network configuration your PC (client) should be able to connect to the ROS-Master on the platform. To check the connection you can try to list the available topics:
rostopic list
It should show the topics as follows:
/cmd_vel
/diagnostics
/drives/joint_states
/drives/joint_states_raw
/drives/joint_trajectory
/joint_states
/joy
/joy/set_feedback
/lidar_1/scan
/lidar_1/scan_filtered
/lidar_2/scan
/lidar_2/scan_filtered
/odom
/relayboard_v2/battery_state
/relayboard_v2/emergency_stop_state
/relayboard_v2/state
/rosout
/rosout_agg
/tf
/tf_static
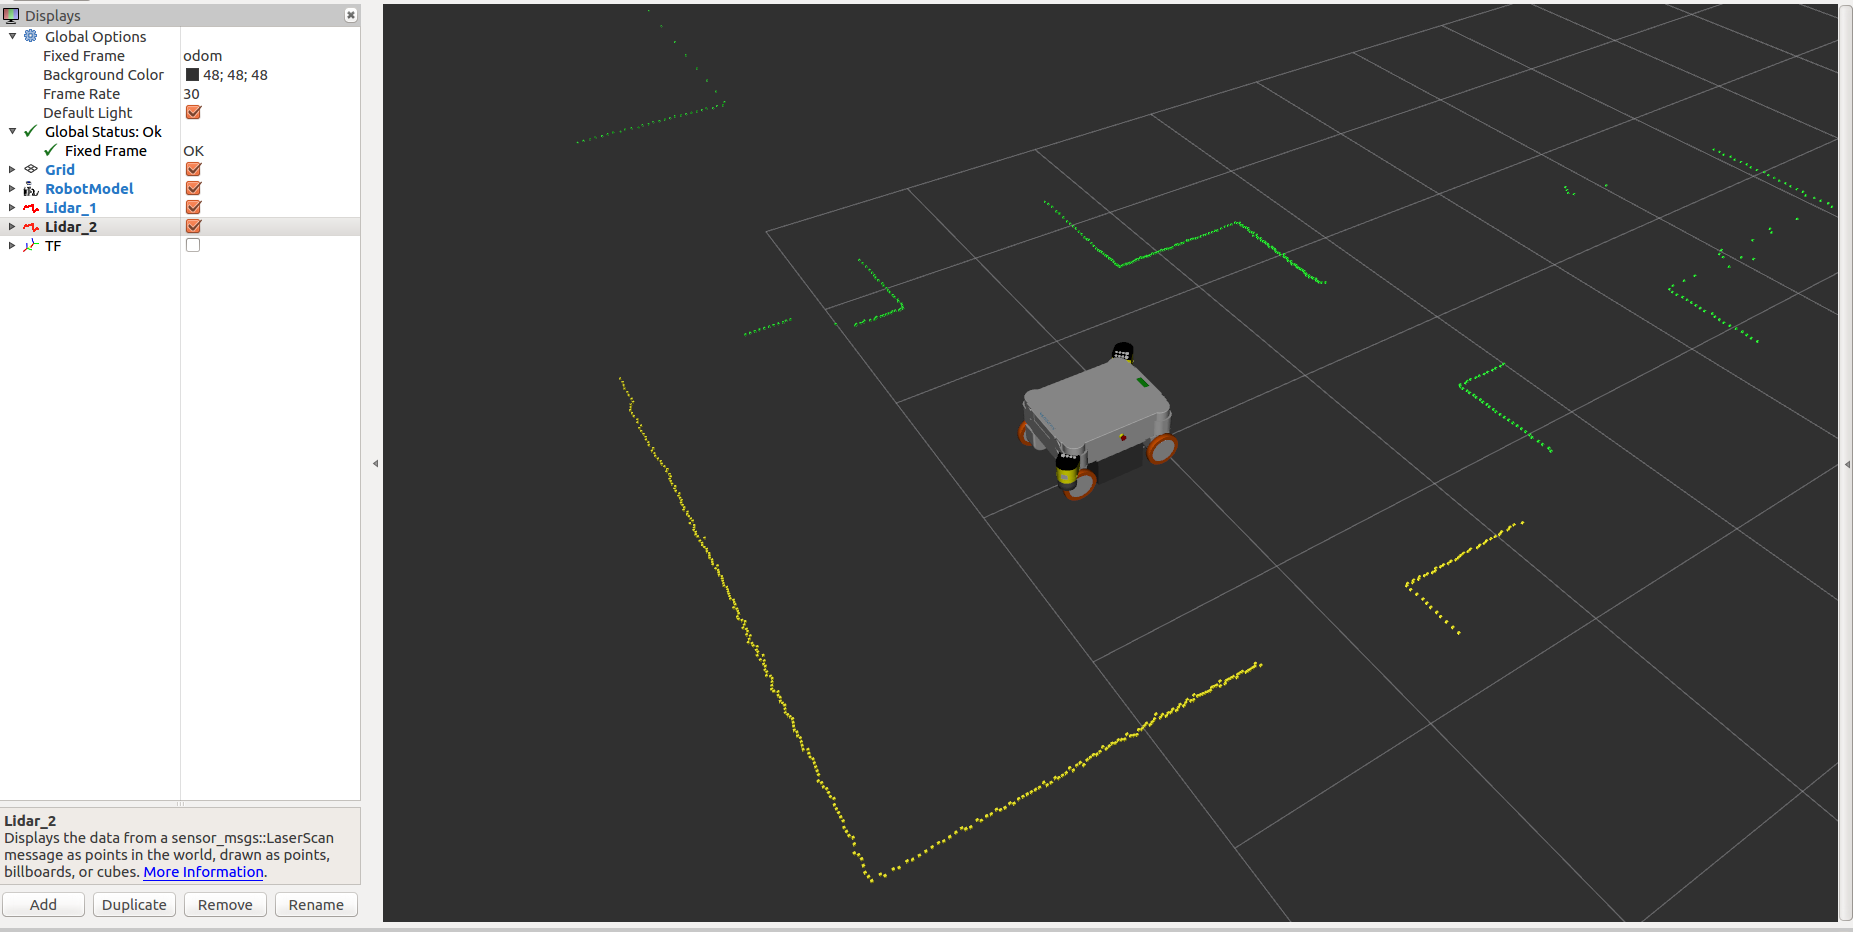
Visualize the data with RViz
A pre-configured visualization can be started via a ROS launch file with your robot as follows:
roslaunch neo_mp_400 rviz.launch
roslaunch neo_mp_500 rviz.launch
roslaunch neo_mpo_500 rviz.launch
roslaunch neo_mpo_700 rviz.launch
Teleoperation
You can use the left stick for movement in X and Y direction and the right stick for rotating.
Note
Please make sure that you choose the D mode of the joystick, before starting to perform teleoperation. It can be found on the top of the joystick.

