Multi Robot Scenario
Have bought more than one robot from us? Planning to do a research with fleet of Neobotix robots? Not sure how to start? This tutorial will be a kick starter guide for all your question related to setting up and using multiple Neobotix robots deploying ROS 2 for an application or research.
Note
This tutorial assumes that, you already have gone through the the Installation steps and Starting with ROS 2 on the Robot know the basic working of our robots. If you have brought brand new robots from us directly then you can skip the installation procedures given below.
The main essence for the set-up of the multi robot system is the Namespace. Namespace is just like the names for the human twins, they look alike but are differentiated mainly by their names. The main subjective idea here is to explain how to configure, set up and the navigate your robots with different namespaces.
Installation
Multi robot environment is currently supported for mpo_700, mpo_500 and mp_400 on the real robot and mpo_700 and mp_400 for the simulation.
Note
Currently, we have this support only for ROS 2 - Humble. If you required support for any other distros, please feel free to contact us.
Please update all the repositories in the robots workspaces in order to get the updates made for the multi-robot scenario.
Finally in order to have visualize and control multiple robots in the same RViz, clone the neo_fleet_rviz2 plugin.
Build all the packages cloned from the src of your workspace using colcon_build --symlink-install.
Configuration
Kinematics
For the robots with differential kinematics such as the MP-400 and MP-500, it is essential to setup the odom frame id to have a trailing “/” at the beginning of the frame id. For example, the odom must be inputted to /odom and base_link to /base_link.
The similar steps must be adapted to mecanum and the omnidrive kinematics.
Environment variables
For the robots to communicate between each other, it is essential that the robot are connected to a network having the same subnet mask. Once that is verified, check that the robots that needs to communicate with each other are on the same ros domain id. The default settings of the neobotix robots are set to domain id 0. But, depending on the application demands, the domain ids could be adjusted in the bashrc.
Launch
Driver Bringup
The first task will be to launch all the robot specific drivers in different namespace. In case if you had bought brand new robots with ROS 2 from us, we would have configured an autostart for ROS on your robot. In that scenario, you need to do the following:
Note
If you have brought a multi robot setup from us already, the bringup would be already pre-configured.
gedit ~/ROS_AUTOSTART.SH
This will open the autostart script. Now in line 7, remove the entire line and replace it with:
ros2 launch neo_mpo_700-2 bringup.launch.py robot_namespace:="robot1"
RViz2 bringup
Visualization is very important to see how our robots behave. In order to do that, we have developed a special RViz2 plugin, in which you will be able to select and send goals to the robot. Of course, we have just one RViz to visualize all the robots in the specified environment for a fleet. In order to start the RViz run the following command from your workspace directory to brings up all the necessary plugins:
ros2 launch neo_nav2_bringup rviz_launch.py rviz_config:=install/neo_nav2_bringup/share/neo_nav2_bringup/rviz/multi_robot.rviz
RViz get’s started with the pre-set configuration, you can see the TF’s of the robot as shown here:
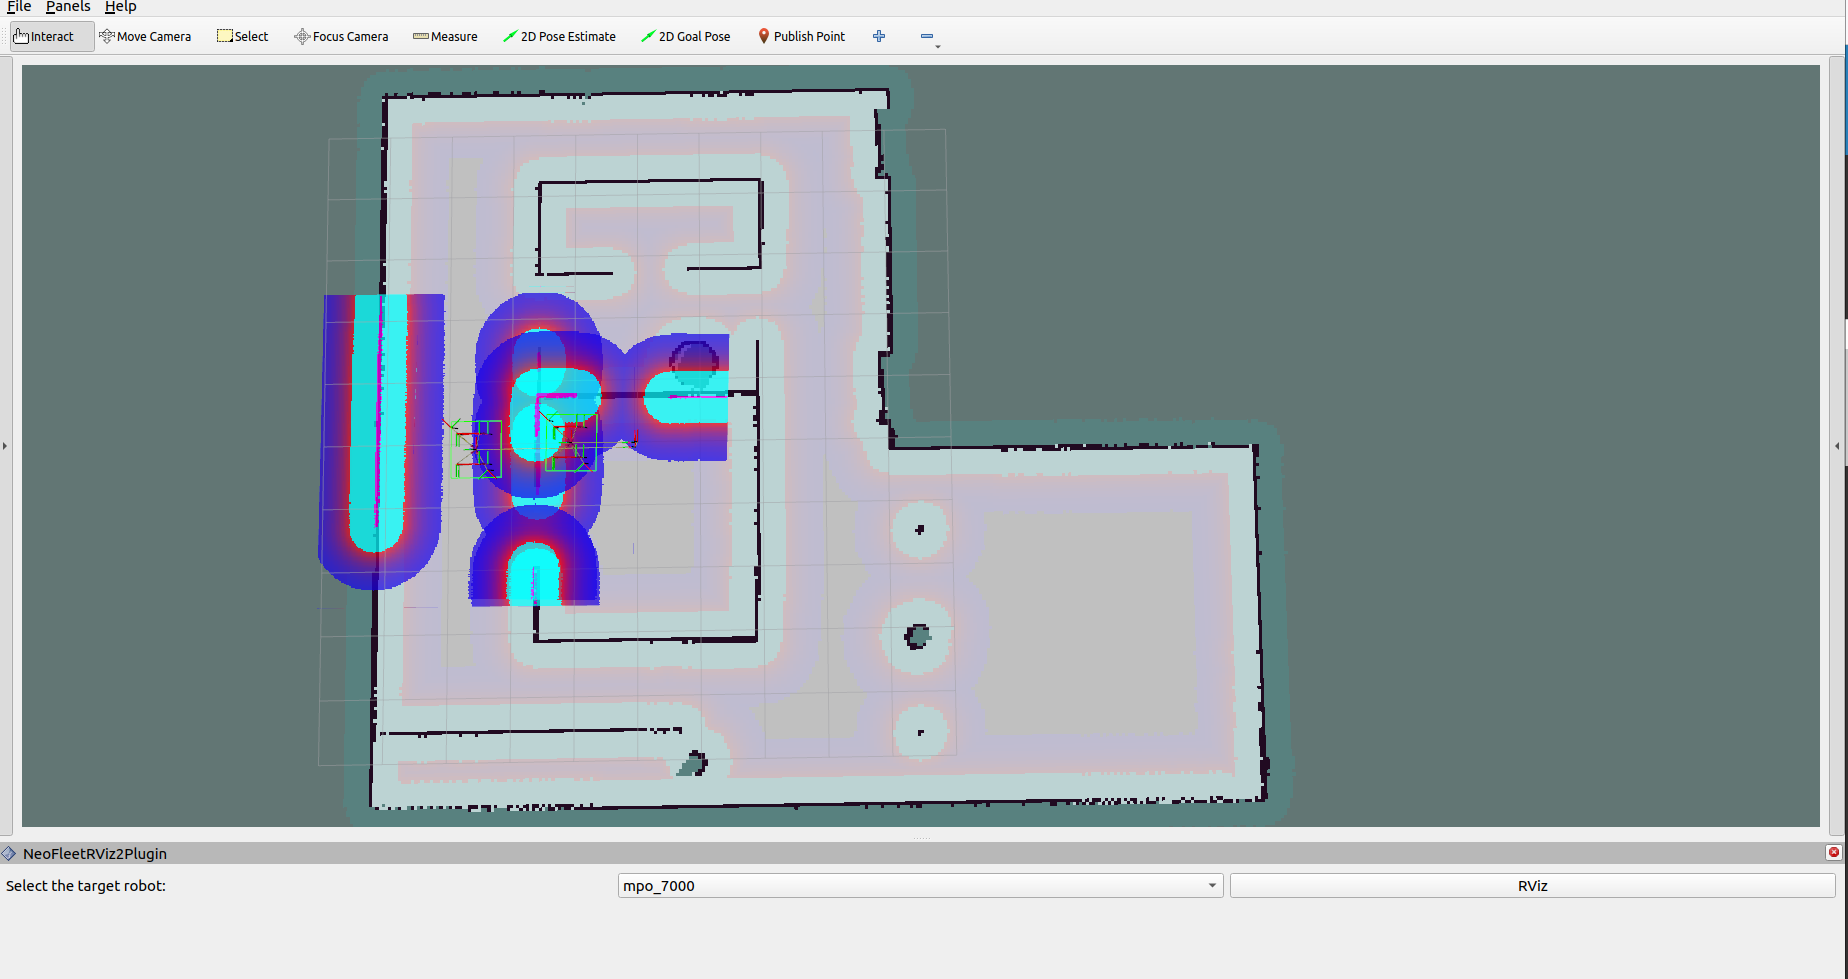
Note
We here have localized the robot already. Please make sure to localize the robots, by selecting each one at a time from the plugin.
Once you are done with the localization, you are free to send goals to the corresponding robots.
Simulation
If you want to try it out in the simulation, we also have it in a seperate branch of our neo_simulation repo, that can be found here
For simulation, you just have to just run couple of steps as follows:
ros2 launch neo_simulation2 multi_robot_simulation.launch.py
ros2 launch neo_simulation2 multi_robot_navigation.launch.py
Follow the RViz2 bringup steps shown above to bring up the RViz.
By default, the namespacing follows the nomenclature “robot” + “robot_number”. The definitions will be robot0, robot1 and so on.